In this blog, you will learn what Cerbos is, how Cerbos works and its main components. The blog will take you through a hands-on demonstration that will ensure you get an accelerated understanding of how to use Cerbos in a Docker environment as well as within the provided Hub.
Prerequisites
You will need to have the following in order to follow along with this blog:
- Basic understanding of software development
- Basic understanding of Git and GitHub
- Basic understanding of Application Programming Interfaces (APIs)
- An understanding of authentication and authorization
- Docker or Docker Desktop installed, the latter is recommended for ease of use
- A text editor like VS Code or an Integrated Development Environment (IDE)
What is Cerbos?
Cerbos is a cloud-native decoupled authorization system. This means that Cerbos allows you to separate your application’s authorization from your application code.. Authorization is the process of determining which application users have permission to view or take an action in which part of the application and its resources.
You can run Cerbos as a microservice along with the rest of your stack and access it from any part of your application. Cerbos has two main components: Cerbos Hub and Cerbos PDP (Policy Decision Point).
Cerbos Hub is a managed platform that lets you formulate authorization rules (referred to as policies) in a collaborative environment. And it helps you monitor and manage all of your deployed instances of Cerbos PDP. Cerbos PDP is the underlying engine that processes authorization policies. PDPs are self-hosted and completely open source.
There are several ways to add Cerbos to your stack. The main ways are downloading the binary onto your system or installing it via Docker container. This blog will focus on how to use Cerbos as a Docker container.

What are Docker, Docker Compose, and Docker Desktop?
Docker is a platform that lets you package an application and all its dependencies into containers. Containers hold everything the application needs to run including particular environment settings. This ensures that the application can run in the same way no matter where it is deployed.
Docker Compose is a tool that allows you to define and manage several containers in a single application. It does this through a user-defined docker-compose.yml file that provides information and instructions on how to manage the application.
Docker Desktop is a graphical user interface (GUI) that makes Docker and Docker Compose more accessible for the user. It allows you to run, inspect and debug containers via the interface. Downloading it downloads Docker and Docker Compose as well.
How to set up Cerbos PDP using Docker Compose
There are two components in Cerbos. This section focuses on the Policy Decision Point, which is open source. Cerbos PDP is available on both Docker Hub and GitHub as a public image.
Configuring the Local Project
Open up your preferred text editor/IDE to a place of your liking. You can open up the home/desktop folder. Create a new folder in the desktop folder. Give it a name like “cerbos-ticket” or something similar.
Ensure you have Docker Desktop running within this folder and within your text editor. Open up the integrated terminal and run the following command to pull the latest image from GitHub registry: docker pull ghcr.io/cerbos/cerbos:0.34.0
Then run the following command:
docker run -it -p 3592:3592 ghcr.io/cerbos/cerbos:0.34.0
This command tells Docker to start the Cerbos container and to map the internal port exposed by Cerbos to port 3592 on your machine. Now open a browser window and paste this URL: http://localhost:3592/. You should see an instance of Cerbos PDP running like so:

Setting Up Cerbos Policies for a Ticketing System
Now that the local Docker instance of Cerbos PDP is running, you will need to define some policies to really understand and test out the service.
To demonstrate policies in this blog we will use a ticketing application, CerbTickets. CerbTickets has users who can have one of two roles, an Admin or a Customer role, and a resource which is a ticket.
A ticket resource contains the following attributes:
- An ID - a unique identifier for the ticket
- A customer ID - a reference to the customer it belongs to
And the following actions can be taken against the ticket resource:
- Create
- Read
- Update
- Delete
A user with an Admin role can take all actions against all tickets and a user with a Customer role can read and update their own ticket. A user with a Customer role cannot take any action against tickets that do not belong to them.
This is illustrated in the following image:

The policies needed here require both Role-Based Access Control (RBAC) and Attribute-Based Access Control (ABAC) rules.
- RBAC determines access control or authorization based on user roles and assigns permissions and privileges based on user roles.
- ABAC uses resource, role, or contextual attributes to determine the same. It is a more granular type of control.
You now need to define policies in a folder as Cerbos PDP decides access rules based on the policies. The file containing Cerbos policies should be a YAML file.
Understanding Cerbos Policies and Policy Syntax
Cerbos policies are YAML files that define access rules. The policies contain two main parts:
- Resources - he objects to which access to is being managed.
- Rules - a set of principles that are used together to determine who has access to which resource and what action they can take against the resource
Rules are further broken down into the following:
- Actions - what can be done to a resource. For example, “create” is an action implying permission to add a new ticket to CerbTickets
- Effect - the final decision that can be either ALLOW or DENY
- Roles - responsibilities a user has within a system
- Conditions - optionally define more granular rules for allowing or denying an action against a resource
Creating a Policy for CerbTickets
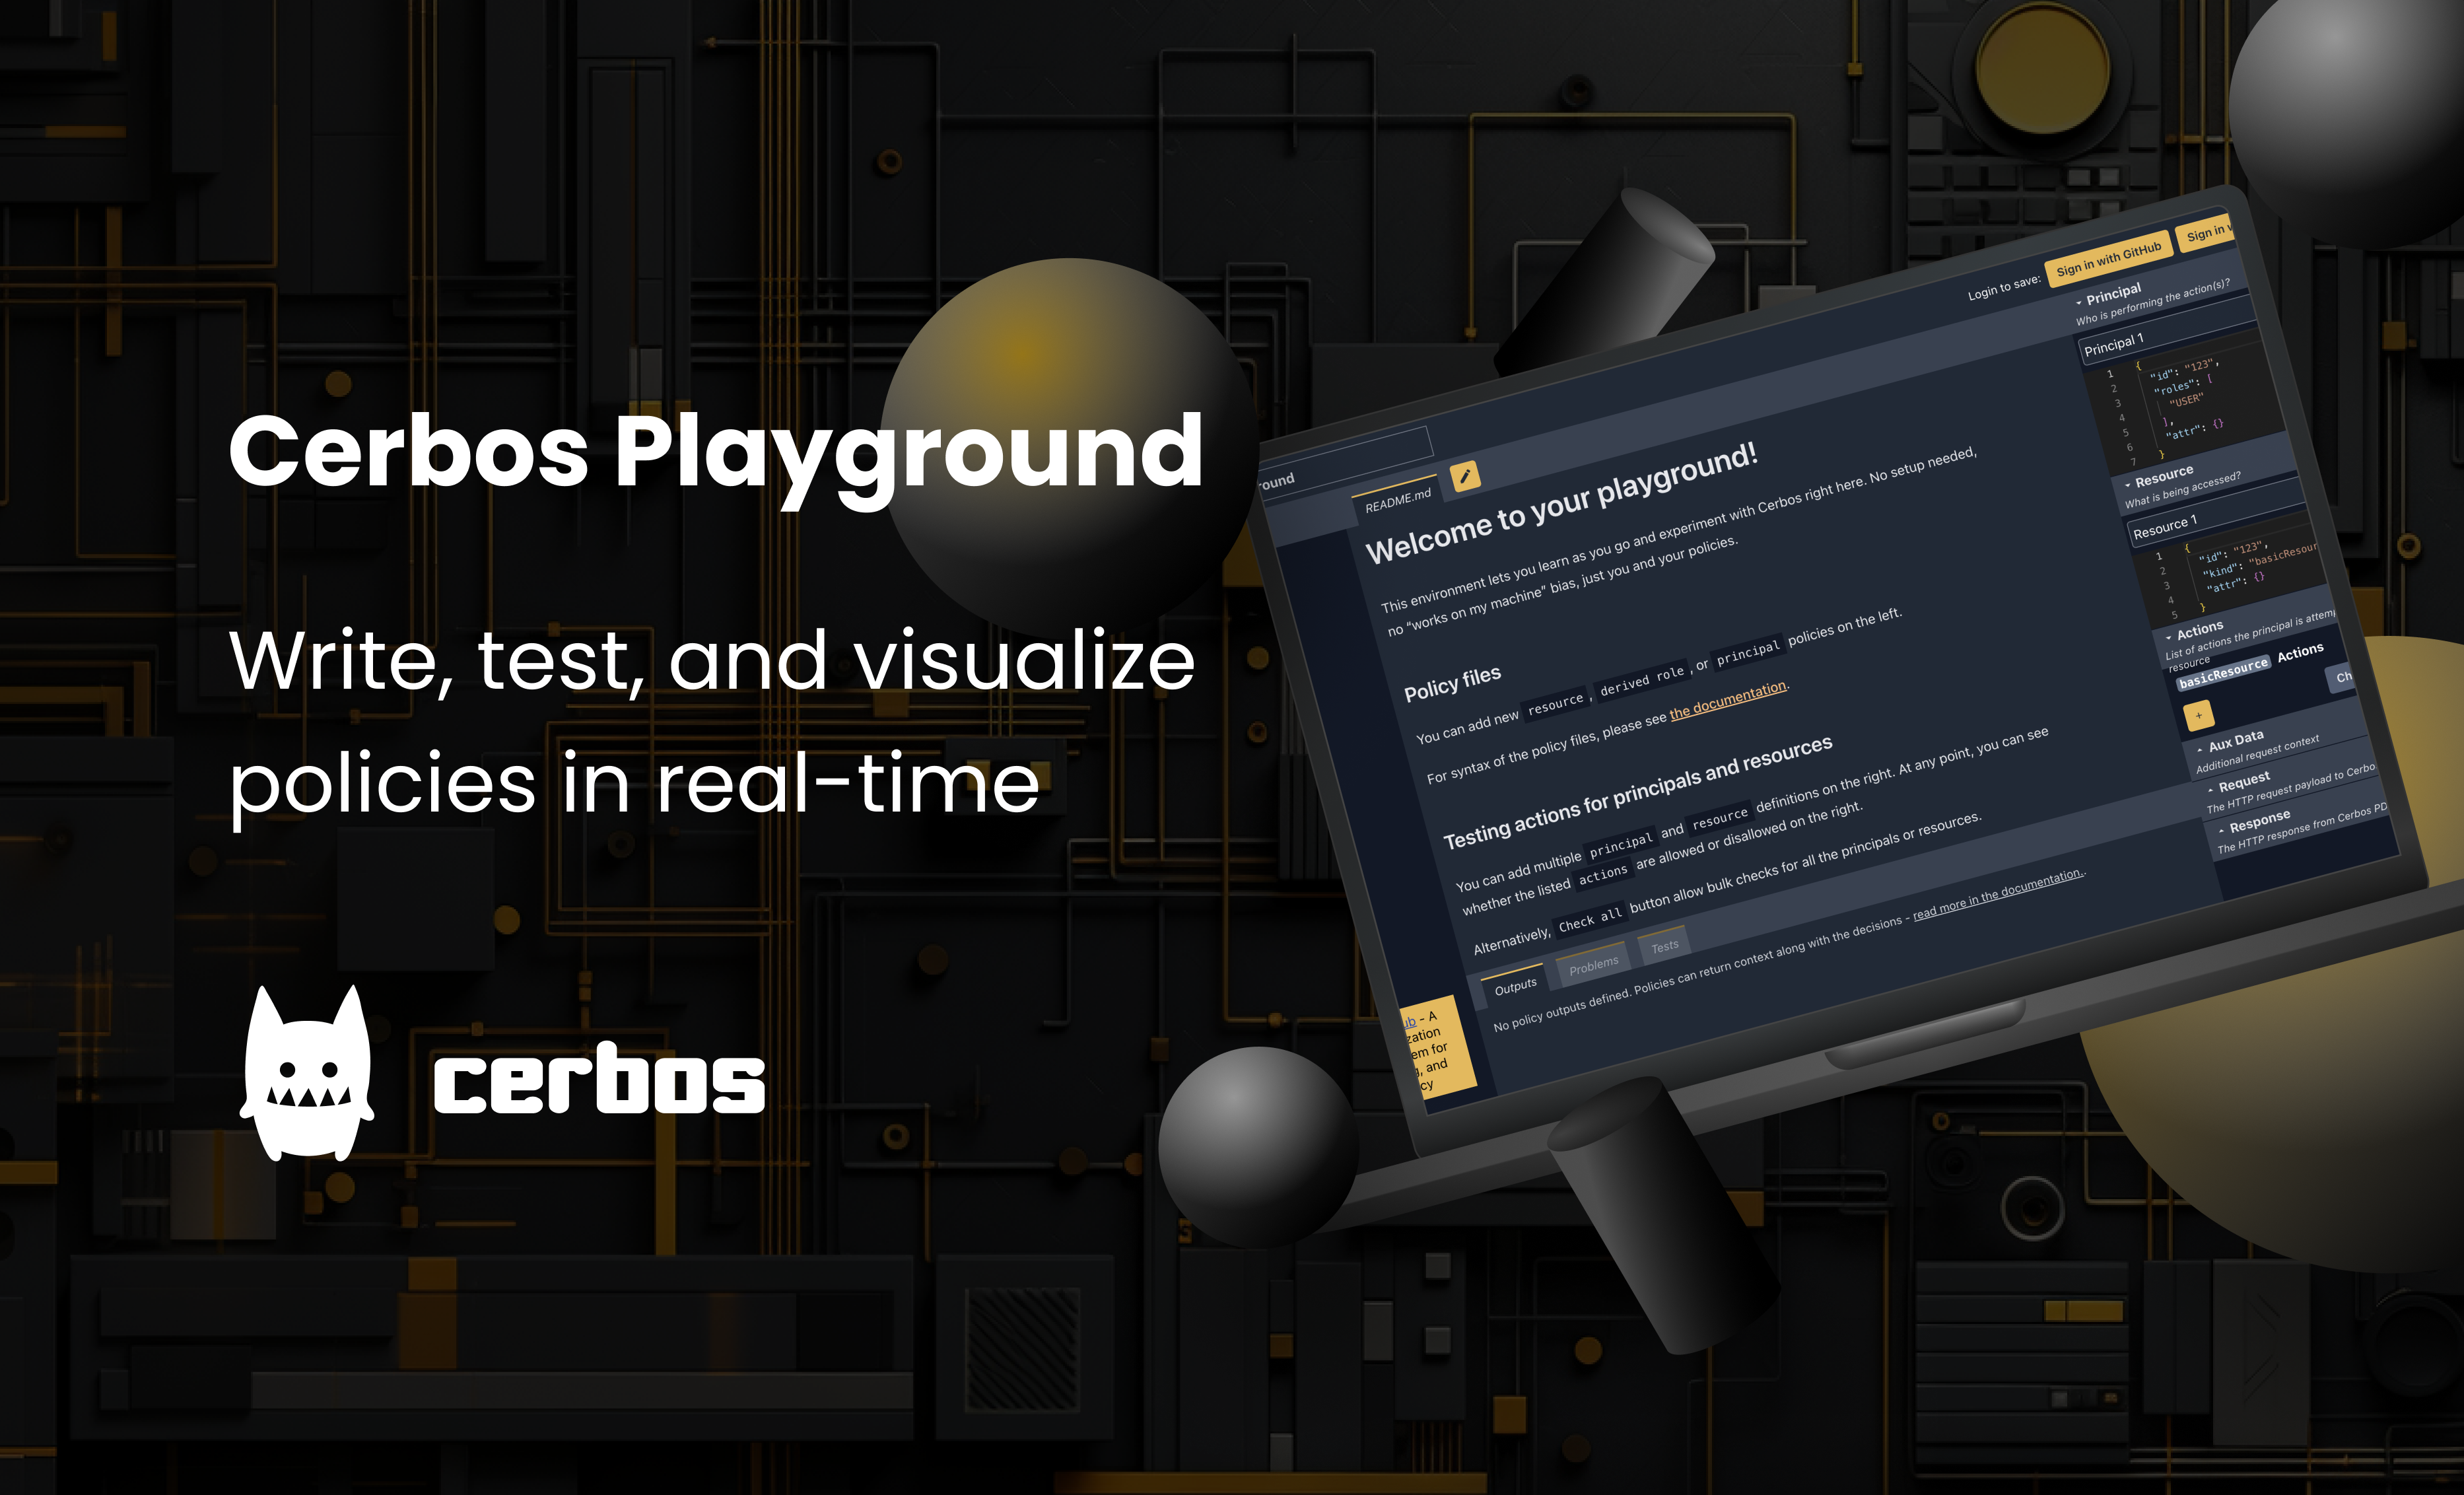
You can create policies through Cerbos playground or manually. The Playground offers a versatile way to quickly prototype and test Cerbos policies.
Here are the steps to follow when using the Playground to generate policies:
- Go to the Playground
- Click on the Policy wizard option
- A RBAC policy editor opens up that is pre-filled with some data like so:

4. You can then adjust the roles, resources and actions that can be taken against the resources. In this case, change them to look like this:

- Click on ‘Generate’ and it should create both the policy and the test file
- In this case, you will need to adjust the policy for users with a Customer role to implement attribute-based access
- The generated file will have a commented example of how to do step 6 above as shown:

Let’s also create a policy manually.. Within the cerb-tickets folder, create a new folder called “policy” and within it, create a file called “ticket.yaml”. Paste the following into ticket.yaml:
apiVersion: api.cerbos.dev/v1
resourcePolicy:
  version: default
  resource: ticket

  rules:
    - actions:
        - "*"
      effect: EFFECT_ALLOW
      roles:
        - admin

    - actions:
        - read
        - update
      effect: EFFECT_ALLOW
      roles:
          - customer
      condition:
          match:
            expr: request.resource.attr.cust_id == request.principal.id


    - actions:
        - create
        - delete
      effect: EFFECT_DENY
      roles:
        - customer
This policy file defines the resource as the ticket and sets rules that allow a user with an Admin role to do all actions while restricting a user with a Customer role to reading and updating only tickets that belong to them.
The Cerbos Docker setup is designed to look for a folder called Policies. You will need to map the Policy folder in cerb-tickets to it so Cerbos can apply the rules defined in the ticket.yaml file.
In an integrated terminal window, paste the following command:
docker run -it --name my-cerbos-container -v /path/to/policy-folder:/policies -p 3592:3592 ghcr.io/cerbos/cerbos:0.34.0
This command runs the Docker container and gives your container a name, my-cerbos-container, mounts your policy folder to the policies folder in the Docker container, and maps the internal port to port 3592 on your machine. Your Cerbos PDP instance should be available at http://localhost:3592 as before.
How to Test Cerbos Policies Using the Compiler
The next step is to test the policy to see if it works as expected. This can be done by directly testing the Application Programming Interface (API) using an API client like ThunderClient or by creating a test file and having the Cerbos compiler run the tests.
Taking the latter approach first, create a new file in the policy folder within your project. Name it “ticket_test.yaml”. Cerbos expects all test files to be named with the trailing “_test” convention. Paste the following within it:
name: test ticket

principals:
  adminOne:
    id: admin_1
    roles:
      - admin
  customerOne:
    id: cust_1
    roles:
      - customer

resources:
  ticketOne:
    kind: ticket
    id: ticket_1
    attr:
      cust_id: cust_1

tests:
  - name: test ticket
    input:
      principals:
        - adminOne
        - customerOne
      resources:
        - ticketOne
      actions:
        - create
        - delete

    expected:
      - principal: adminOne
        resource: ticketOne
        actions:
          create: EFFECT_ALLOW
          delete: EFFECT_ALLOW

      - principal: customerOne
        resource: ticketOne
        actions:
          create: EFFECT_DENY
          delete: EFFECT_DENY
This test file defines principals, the entities trying to interact with your application's resources and tests. It has an admin and a customer as principals with their respective roles, an example ticket resource, and a test that passes in an input representing a request to the Cerbos PDP.
Open an integrated terminal and run the following command for the compiler to start testing:
docker run -i -t -v /path/to/policy-folder:/policies ghcr.io/cerbos/cerbos:0.34.0 compile /policies
You should see an output like this, indicating that our tests ran as expected:

Using Cerbos PDP in Docker Compose
The steps above and the running command can be simplified by adding all the settings to a docker-compose file within the project folder. Within the cerbos-ticket folder, create a docker-compose.yml file and paste the following into it:
version: "3.8"

services:
  my-cerbos-container:
    container_name: my-cerbos-container
    image: ghcr.io/cerbos/cerbos:0.34.0
    ports:
      - "3592:3592"
    volumes:
      - /path/to/your/cerbos-ticket-folder/policy:/policies
    command: compile /policies
This file defines an image and a container name, maps ports, sets volumes, and specifies the compile step. Now paste this in the terminal: docker compose up. You should see the container run as before and that it has also run the tests.

How to Test Cerbos Policies Using an API Client
Paste this command in the terminal to restart your container: docker compose up. Confirm that Cerbos PDP is running on port 3592.
Set up the ThunderClient VS Code extension. If you are not using VSCode, you can use Postman as the steps are similar.
The API end-point CerbosTickets cares about is the one that allows us to check whether or not a principal is allowed to carry out an action against the ticket. This endpoint is the /api/check/resources, and it accepts a POST request as indicated at port 3592, as shown below:

You can explore all options and run example calls from the PDP instance. To test via an API client, click on the ThunderClient icon in the sidebar, and a window like this should appear:

Change the method to POST, paste it into the full URL, and pass an example request body as below:
Url: http://localhost:3592/api/check/resources,
Request body:
{
  "principal": {
    "id": "cust_1",
    "policyVersion": "default",
    "roles": ["customer"]
  },
  "resources": [
    {
      "actions": ["create"],
      "resource": {
        "kind": "ticket",
        "policyversion": "default",
        "id": "ticket_1",
        "attr": {"cust_id": "cust_1"}
      }
    }
  ]
}
The policy defined for CerbosTickets should deny this request. Notice the response says EFFECT_DENY for the create action for the user with a customer role.

Now adjust the request body above to request ‘read’ access to the ticket resource for the customer, notice Cerbos PDP allows this action as shown below:

Change the cust_id in the attributes section of the resources key to read “cust_2” and resend the request. Cerbos PDP will come back with a DENY decision because a customer can only read tickets whose cust_id attribute matches their own id:

Next, change the request body by passing an admin principal who wants to delete a ticket resource. Notice the action is allowed because the admin is allowed to take all actions against the ticket resource:

CerbTickets has successfully defined access policies, tested them, and used them in an environment.
What is Cerbos Hub?
Cerbos provides another way to create and manage policies through a managed dashboard called Cerbos Hub. This dashboard comes with an enhanced version of Cerbos Playground.
The Hub provides real-time editing and collaboration with multiple people in an organization. It integrates with version control to ensure automatic sync between changes to a connected repository.
Additionally, it gives the ability to quickly roll out any policy updates across all PDP instances that an organization might have. Cerbos Hub enables easier management of PDP instances deployed to an edge environment or in a serverless architecture.

How to set up Cerbos Hub
Navigate to the Cerbos Hub page and click on the “Get Started with Cerbos Hub” button. It should redirect you to this page:

Click the “Log in” button and follow the prompts then click on “New organization” button. Fill in some information about your company. In this case, our company is “CerbTickets.” And then click ‘Create my organization.’.

Continue to create a new empty playground. Give it the same name as your organization. Once done, you will be greeted with some setup help and a video. I recommend watching the video. The playground interface should look like this:

Click the document-plus icon in the top left corner to create a file. Name it “ticket.yaml” then copy the policies defined in your local cerb-ticket folder and paste it into the window like so:

Create a ticket_test.yaml file in the root as before and paste this into it:
name: Example test suite

tests:
  - name: Example test
    input:
      principals:
        - adminOne
        - customerOne
      resources:
        - ticket
      actions:
        - create
        - update
    expected:
      - principal: adminOne
        resource: ticket
        actions:
          create: EFFECT_ALLOW
      - principal: customerOne
        resource: ticket
        actions:
          create: EFFECT_DENY
In the testdata folder, replace the contents of the resources.yaml file with the following:
resources:
  ticket:
    kind: ticket
    id: ticket_1
    attr:
      cust_id: cust_1
Then replace the contents of the principals.yaml with the following:
principals:
  adminOne:
    id: admin_1
    roles:
      - admin
  customerOne:
    id: cust_1
    roles:
      - customer
You can now check the tests results tab on the far right and see if the tests are passing and what feedback Cerbos Hub gives you. The platform picks up your actions from the policy file and lists them in the lower right-hand corner. It should look similar to this:


How to connect Cerbos PDP to Cerbos Hub
To connect the PDP to Cerbos Hub, you will need to create a workspace and connect a GitHub repository.
Create a GitHub repository for your local CerbTickets folder and add all of your files to it.. Create a new file called .cerbos-hub.yaml and paste the following into it:
apiVersion: api.cerbos.cloud/v1
labels:
 latest:
   branch: main
This file defines labels that facilitate Cerbos Hub GitOps process. It maps the labels to a git reference, in this case to the main branch. You can read more about that here. Push these changes to your GitHub repository, leaving out the docker-compose file.
Next, in your CerbTickets Organization, click on the “Create workspace” button and follow the prompts to connect to your GitHub account and specify a repository. Copy the secret key credentials shown to you and keep them safe. You will need them to connect your local Docker compose instance to Cerbos Hub.
In your CerbTickets folder, create a .env file to hold your credentials and paste the following in it:
CERBOS_HUB_BUNDLE=latest
CERBOS_HUB_WORKSPACE_SECRET=YOUR-WORKSPACE-SECRET
CERBOS_HUB_CLIENT_ID=YOUR-CLIENT-ID
CERBOS_HUB_CLIENT_SECRET=YOUR-CLIENT-SECRET
Replace the values with your actual credentials. Then replace the contents in the docker-compose.yml file with this:
version: "3.8"

services:
  my-cerbos-container:
    container_name: my-cerbos-container
    image: ghcr.io/cerbos/cerbos:0.34.0
    ports:
      - "3592:3592"
    env_file:
      - .env
    volumes:
      - /Users/umuyahya/Desktop/cerbos-ticket/policy:/policies
This pulls in the keys into the compose file making the Cerbos Hub credentials accessible to docker. Remember to add the .env file to the gitignore file to keep it out of source control.
Finally, open an integrated terminal and run the following command:
docker-compose up -d
This will run your container with the keys it needs to connect to Cerbos Hub passed to it. Now back in Cerbos Hub, click on “Decision points” in the sidebar and you should see your locally running PDP logged as below:

And with that, you have successfully connected your local PDP to Cerbos Hub. Now Cerbos Hub can automatically detect new commits to the GitHub repo and will compile, test and push those changes to all active instances of the PDP.
Notes and Resources
Congratulations, at this point you have successfully managed to create and test authorization policies both in an environment and in Cerbos Hub. You have also managed to connect a PDP instance to Cerbos Hub for a more streamlined process.
The following links will further enhance your understanding of Cerbos:
Tagged in