Dynamic authorization for AI agents. A guide to fine-grained permissions in MCP servers
AI Agents are rapidly evolving beyond simple Retrieval-Augmented Generation (RAG) and are now expected to take action. This is made possible through standards like the Model Context Protocol (MCP), which allows agents to interact with external tools and APIs. However, this new capability introduces a critical challenge: implementing fine-grained permissions and access controls based on “who can do what?”.
Hardcoding if/else statements for user roles is not a scalable or secure solution. Modern applications require a dynamic authorization model that can make decisions based on a rich set of attributes - a model often referred to as Policy-Based Access Control or Attribute-Based Access Control.
This guide will walk you through building a secure MCP server where AI Agent tool access is managed by Cerbos, a decoupled, policy-driven authorization service. You will learn how to enforce fine-grained authorization by externalizing access controls into human-readable policies.
See how to implement dynamic authorization for AI agents, and fine-grained permissions in MCP servers, using Cerbos. Book a call with an engineer to discuss your use case.
The challenge. Static permissions in a dynamic AI world
When an AI Agent acts on behalf of a user, it must be subject to delegated (or an attenuated form of) permissions as that user. The challenge is that these Permissions are often complex and context-dependent. For example:
- A user might be able to add an expense but not approve it.
- A manager might be able to approve expenses, but only for their own team.
- An admin might be the only one who can delete records.
Implementing this logic directly in the MCP server creates brittle, hard-to-manage code. A change in your authorization policy requires a code change and a full redeployment.
The solution. Decoupled authorization with Cerbos and MCP
The solution is to decouple authorization logic from your application code.
The Model Context Protocol (MCP) is a specification that standardizes communication between AI Agents and external tools. An MCP server exposes a list of available tools, which any MCP client, be it a human in a chat application or a native AI agent, can then invoke to perform actions in your system.
Cerbos is a stateless, open source authorization service that externalizes access controls into declarative YAML policies. Your application queries the Cerbos Policy Decision Point with a question like, "Can this principal perform this action on this resource?" Cerbos evaluates the relevant policies and returns a simple allow/deny decision in milliseconds. This enables powerful PBAC and ABAC without complicating your application logic.
By combining MCP and Cerbos, you build a system where the MCP server defines all possible tools, but dynamically enables only the ones the user has permission to use for a given request.
Step-by-step implementation guide
This sample MCP server can be found at https://github.com/cerbos/cerbos-mcp-authorization-demo
Step 1: Declarative policy authoring
First, define your access controls in a Cerbos policy. This policy will govern which roles have permission to use which tools (actions).
Create a policies directory and add the following mcp_expenses.yaml file.
File: policies/mcp_expenses.yaml
apiVersion: "api.cerbos.dev/v1"
resourcePolicy:
  version: "default"
  resource: "mcp::expenses"
  rules:
    - actions: ["list_expenses"]
      effect: EFFECT_ALLOW
      roles: ["admin", "manager", "user"]

    - actions: ["add_expense"]
      effect: EFFECT_ALLOW
      roles: ["user"]

    - actions: ["approve_expense", "reject_expense"]
      effect: EFFECT_ALLOW
      roles: ["admin", "manager"]

    - actions: ["delete_expense", "superpower_tool"]
      effect: EFFECT_ALLOW
      roles: ["admin"]
Step 2: Deploying the Cerbos PDP
Run the Cerbos PDP in Docker, mounting your policies directory. This makes your authorization policies live and ready to be queried.
docker run --rm -it -p 3593:3593 \
  -v "$(pwd)/policies":/policies \
  ghcr.io/cerbos/cerbos:latest
Step 3: Integrating the MCP server
Create a Node.js Express server that connects to the Cerbos PDP.
- Install dependencies:
npm install express @modelcontextprotocol/sdk @cerbos/grpc
- Create the server: The code below defines every tool but uses
cerbos.checkResourceto perform a central authorization check. Based on the response, it dynamically enables only the permitted tools for the session. How the identity gets passed to this is out of scope, but with the recent OAuth improvements in the MCP spec, you will be able to token with the user's identity from an OAuth2 authorization server and pass it through to the MCP server.
File: server.js
import express from "express";
import { McpServer } from "@modelcontextprotocol/sdk/server/mcp.js";
import { StreamableHTTPServerTransport } from "@modelcontextprotocol/sdk/server/streamableHttp.js";
import { GRPC } from "@cerbos/grpc";
import { randomUUID } from "node:crypto";

const cerbos = new GRPC("localhost:3593", { tls: false });

async function getServer({ user, sessionId }) {
  const server = new McpServer({ name: "CerbFinance MCP Server" });

  // Example tools - actual implementation is out of scope
  const tools = {
    list_expenses: server.tool(
      "list_expenses",
      "Lists expenses.",
      {},
      { title: "List Expenses" },
      async () => ({ content: [{ type: "text", text: "..." }] })
    ),
    add_expense: server.tool(
      "add_expense",
      "Adds an expense.",
      {},
      { title: "Add Expense" },
      async () => ({ content: [{ type: "text", text: "..." }] })
    ),
    approve_expense: server.tool(
      "approve_expense",
      "Approves an expense.",
      {},
      { title: "Approve Expense" },
      async () => ({ content: [{ type: "text", text: "..." }] })
    ),
    reject_expense: server.tool(
      "reject_expense",
      "Rejects an expense.",
      {},
      { title: "Reject Expense" },
      async () => ({ content: [{ type: "text", text: "..." }] })
    ),
    delete_expense: server.tool(
      "delete_expense",
      "Deletes an expense.",
      {},
      { title: "Delete Expense" },
      async () => ({ content: [{ type: "text", text: "..." }] })
    ),
    superpower_tool: server.tool(
      "superpower_tool",
      "Grants superpowers.",
      {},
      { title: "Superpower Tool" },
      async () => ({ content: [{ type: "text", text: "..." }] })
    ),
  };

  const toolNames = Object.keys(tools);

  // Central Authorization Check
  const authorizedTools = await cerbos.checkResource({
    principal: { id: user.id, roles: user.roles },
    resource: { kind: "mcp::expenses", id: sessionId },
    actions: toolNames,
  });

  for (const toolName of toolNames) {
    if (authorizedTools.isAllowed(toolName)) {
      tools[toolName].enable();
    } else {
      tools[toolName].disable();
    }
  }

  server.sendToolListChanged();
  return server;
}

const app = express();
app.use(express.json());

// Middleware to simulate user authentication - use OAuth in production
app.use((req, res, next) => {
  req.user = { id: "user-123", roles: ["user"] }; // Test different roles here
  next();
});

app.post("/mcp",  async (req, res) => {
  const transport = new StreamableHTTPServerTransport({
sessionIdGenerator: undefined,
});
  const server = await getServer({
    user: req.user,
    sessionId: req.sessionId || randomUUID(),
  });
  await server.connect(transport);
  await transport.handleRequest(req, res, req.body);
});
app.listen(3000, () => console.log("MCP Server running on port 3000"));
Testing your policy-driven AI agent
You can test your server using the MCP Client extension in VS Code.
- Open the Command Palette (Ctrl+Shift+P) and select "MCP: Add Server".
- Enter your server URL:
http://localhost:3000/mcp. - Run in Copilot to open a chat window. The available tools will be listed.
Example prompts by role: Change the roles in server.js to simulate different users.
- As a
user(roles: ['user']):"Add an expense for $100"-> Succeeds"Approve the expense"-> Fails (The agent reports it doesn't have the tool).
- As a
manager(roles: ['manager', 'user']):"Approve expense 123"-> Succeeds"Delete expense 123"-> Fails
- As an
admin(roles: ['admin']):"Delete expense 123"-> Succeeds
Beyond roles - the power of ABAC
Role-Based Access Control is just the beginning. The real power of a decoupled authorization system is implementing ABAC. With Cerbos, you can write policies that use attributes from the user (principal), the resource, or the request itself.
For example, to restrict managers to approving expenses only up to a certain amount, you could pass the amount as an attribute and write a condition, then do an additional check inside the tool implementation:
server.js (snippet of the Cerbos call):
await cerbos.checkResource({
  principal: { id: user.id, roles: user.roles },
  resource: {
    kind: "mcp::expenses",
    id: sessionId,
    attr: { amount: 150 } // Pass resource attributes
  },
  actions: ["approve_expense"],
});
policies/mcp_expenses.yaml (snippet of the policy rule):
- actions: ["approve_expense"]
  effect: EFFECT_ALLOW
  roles: ["manager"]
  condition:
    match:
      # The manager can only approve if the expense amount is less than 1000
      expr: request.resource.attr.amount < 1000
This demonstrates true fine-grained authorization that goes far beyond simple roles.
Conclusion
By decoupling your authorization logic using Cerbos, you can build powerful, secure, and scalable AI Agents. This architecture allows you to manage Permissions through declarative policies, enabling you to implement everything from simple role-based rules to sophisticated ABAC without touching your application code. As AI agents become more integrated into our workflows, a robust, policy-driven approach to access controls is a necessity.
For further details on mastering dynamic authorization for MCP servers with Cerbos, check out this piece.
If you want to dive deeper, check out our in-depth ebook on securing MCP servers, join one of our engineering demos, or review our documentation.
Book a free Policy Workshop to discuss your requirements and get your first policy written by the Cerbos team
Recommended content

Mapping business requirements to authorization policy
eBook: Zero Trust for AI, securing MCP servers

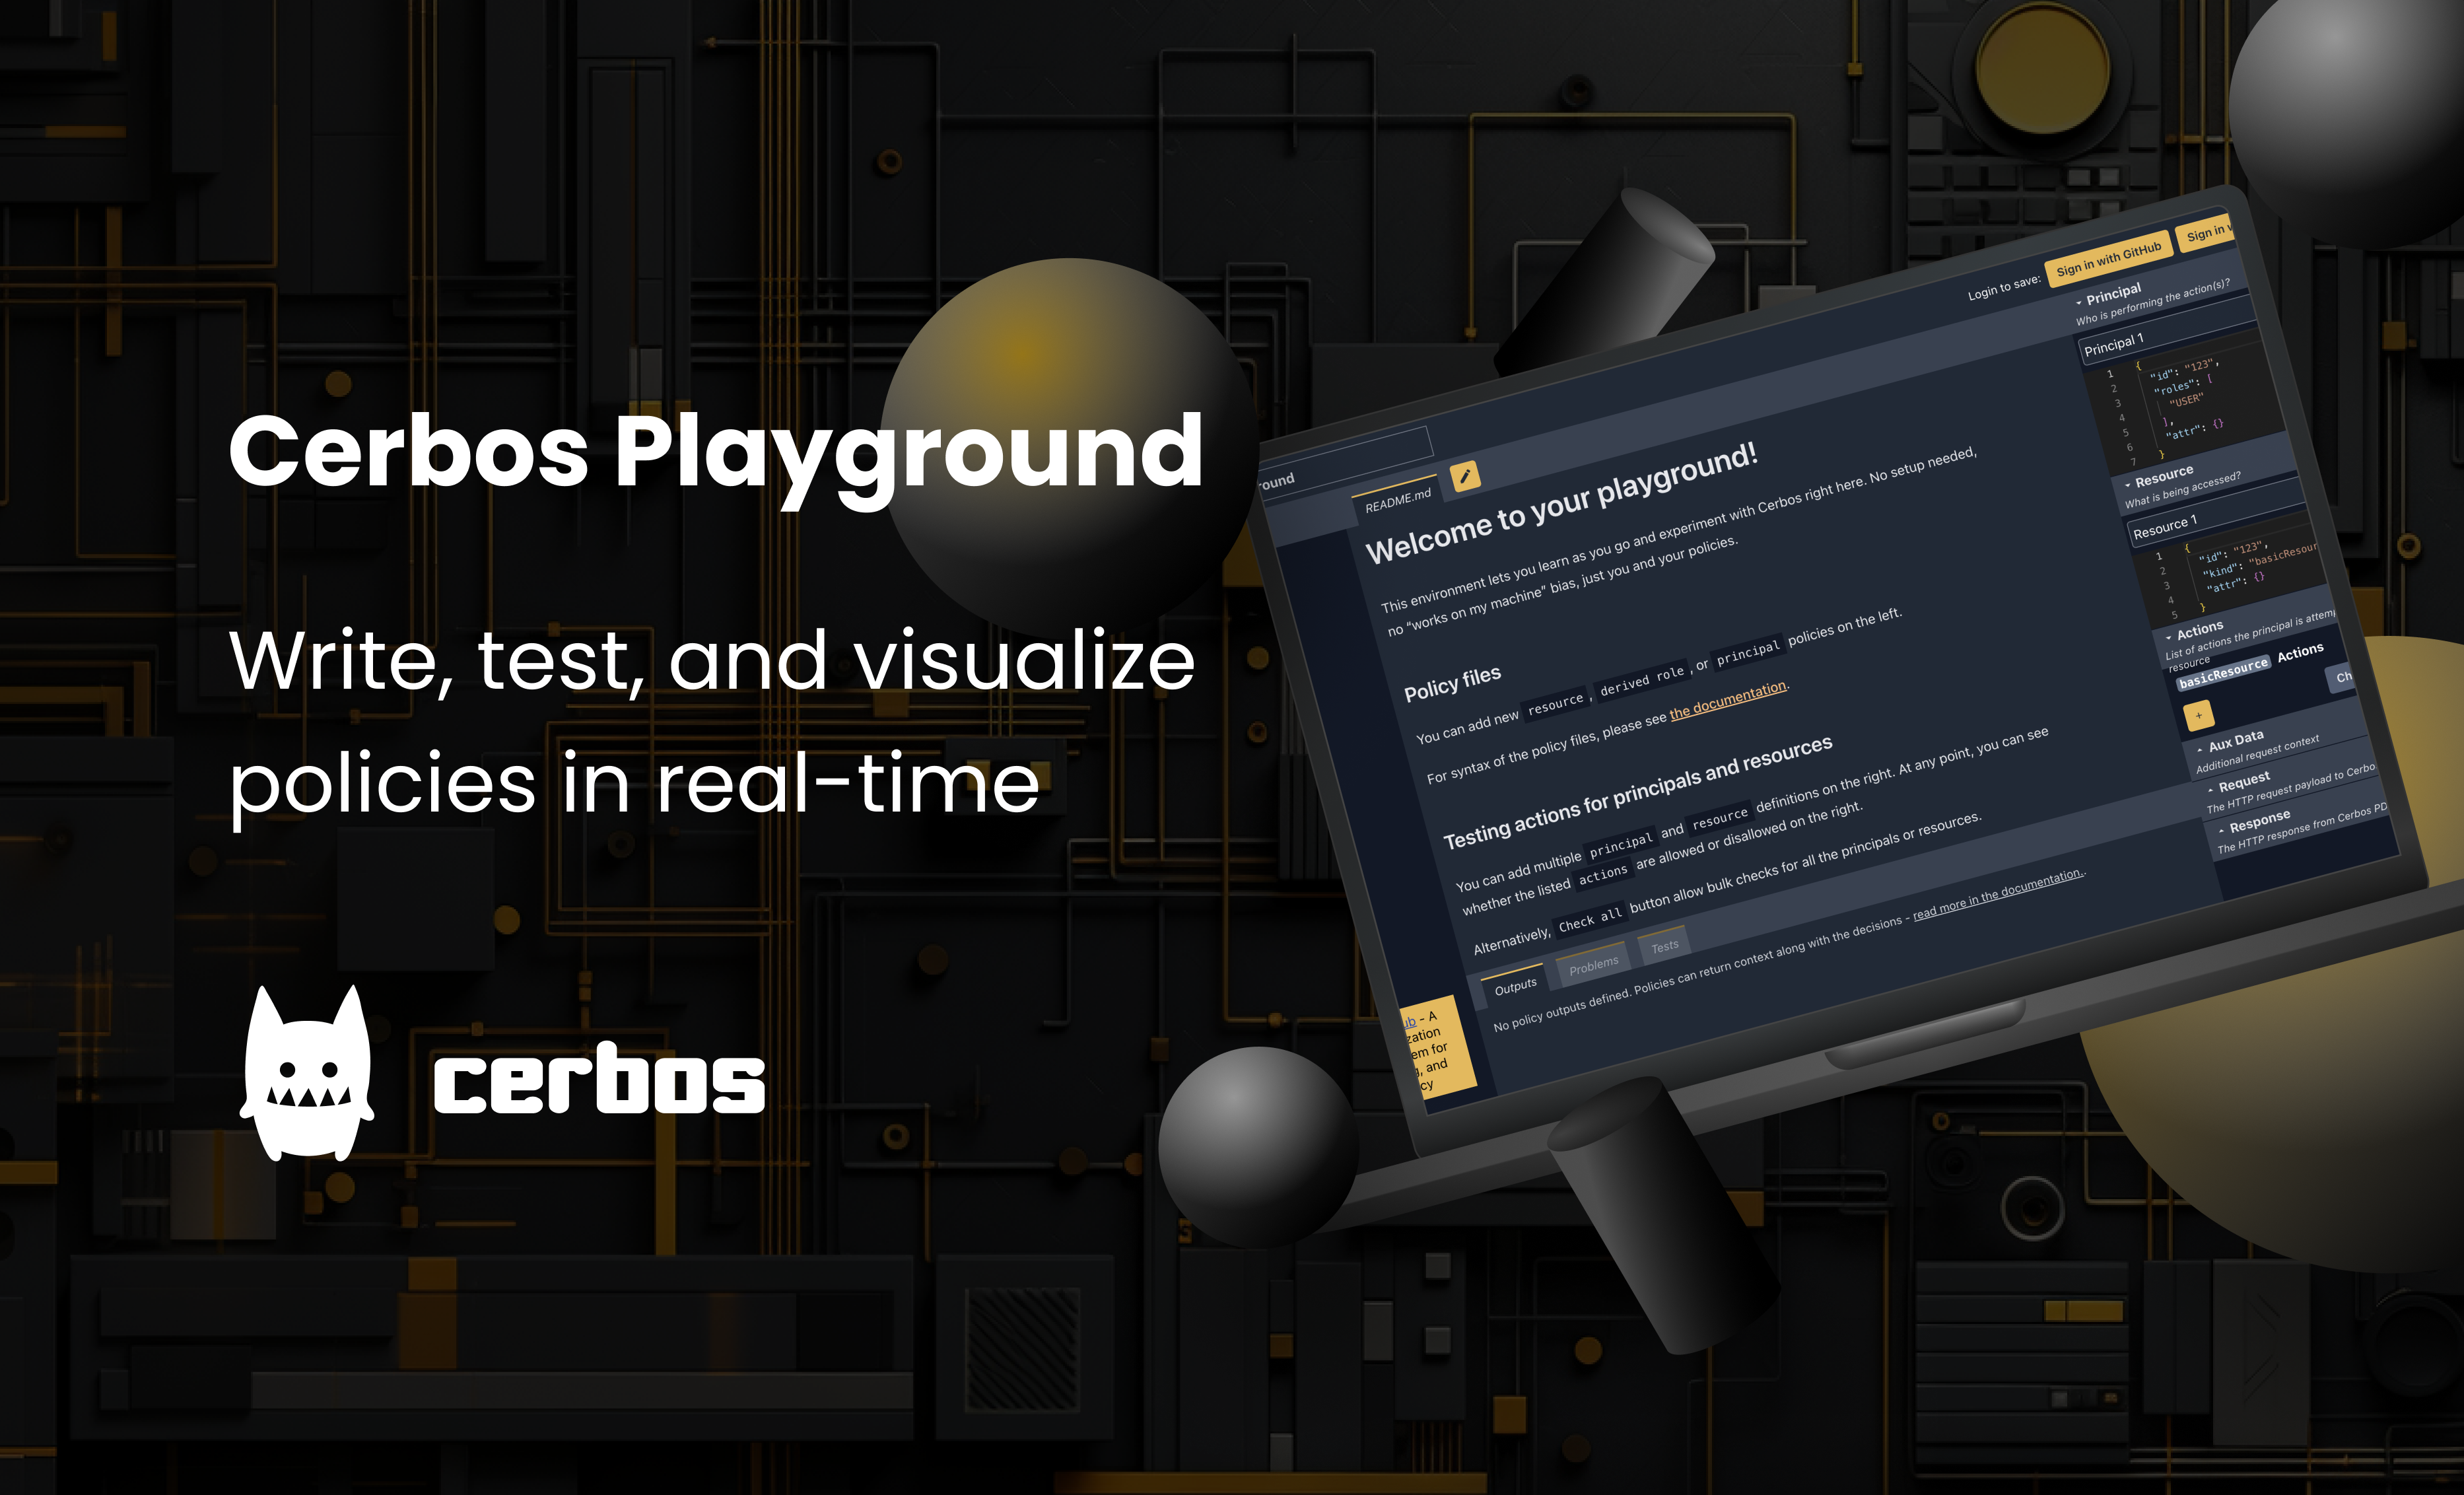
Experiment, learn, and prototype with Cerbos Playground
eBook: How to adopt externalized authorization

Framework for evaluating authorization providers and solutions

Staying compliant – What you need to know
Subscribe to our newsletter
Join thousands of developers | Features and updates | 1x per month | No spam, just goodies.
Authorization for AI systems
By industry
By business requirement
Useful links
What is Cerbos?
Cerbos is an end-to-end enterprise authorization software for Zero Trust environments and AI-powered systems. It enforces fine-grained, contextual, and continuous authorization across apps, APIs, AI agents, MCP servers, services, and workloads.
Cerbos consists of an open-source Policy Decision Point, Enforcement Point integrations, and a centrally managed Policy Administration Plane (Cerbos Hub) that coordinates unified policy-based authorization across your architecture. Enforce least privilege & maintain full visibility into access decisions with Cerbos authorization.
